Lite and Narrow Column - 7
We are now ready to get some elevation. Model building has
changed dramatically, especially with materials, since Ron
built his diorama. On that, Ron used ½” plywood for the base
but, as you can see, I used foam board. To get his elevation
for the auxiliary structures and mine tracks, Ron used ceiling
tiles. I stacked the foam board, and glued it with Liquid Nails
for Projects® until it reached 3 ¾” high. I used a marker pen to
show the location of the large retaining wall on the now-large
block of foam board.
Since there was sloping ground on both sides of the retaining
wall, I measured a line from the edge to get some ground past
the wall. I cut this section from the block and slid the foam
board forward, surrounding the wall. There is a wooden ramp
that carries the mine track from the tipple to the mine open-
ing. This extends over sloping ground, so I measured this dis-
tance and drew another line. Using this line and the bottom
8
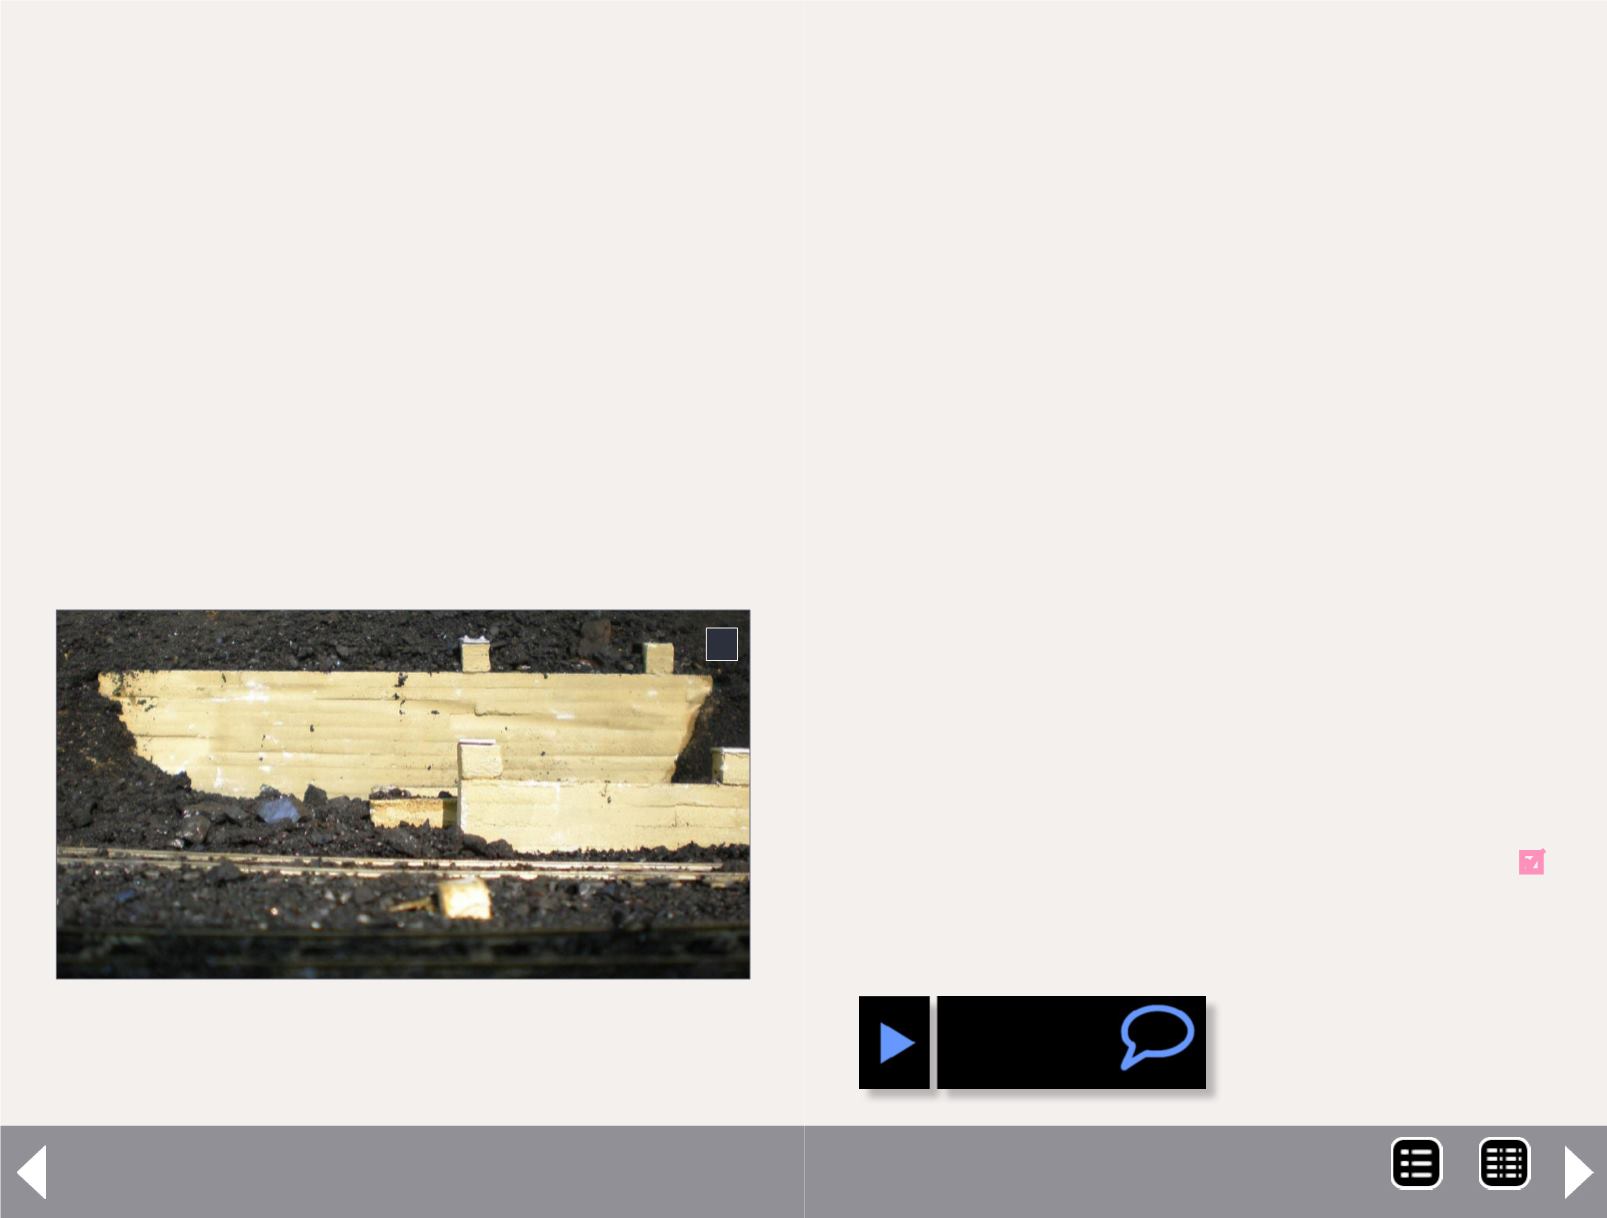
8. Waste, called boney, and coal ground cover spread
around the retaining walls. The coal is actual EBT coal that
Elliot Eggleston gave to me many years back.
front edge, I used a hacksaw blade to cut away the foam, leav-
ing a nice slope. I also cut a slope on one side down to the loca-
tion of the truck road and scale house. At this point, I applied
plaster cloth with a paint brush dipped in water, for a smooth
surface.
After drying, I painted the plaster with earth-colored latex
paint. Those of you who are frugal might consider painting a
sample of your favorite earth color on a piece of cardboard.
When dry, take that sample to your local paint store and have
them mix their cheapest latex paint to that color. I used Floquil
Earth for my sample, and now have a gallon of latex in that
color, which I purchased for around $13. You can strain it and
airbrush if you wish, or brush it as I did.
Once this was dry, I marked the location of the railroad tracks
and the mine trackage, along with the mine car scale house
and the blacksmith/car shop. The railroad track is code 55 flex
track that was weathered prior to installation. The mine track is
handlaid Code 40 glued in place with CA.
Because of space limitations when the tipple is put into place,
I buried the flex track into the scenery. To do this, I put upside-
down rail next to the flex track rails and filled between the
rails with Scuptamold®. I let it dry before removing the rails. I
painted the entire area flat black, and liberally spread Highball
Products coal dust over the area.
Next time: Building the tipple and the mine car scale house.
MRH-Jun 2014


