Shoofly free-moN module - 7
7
8
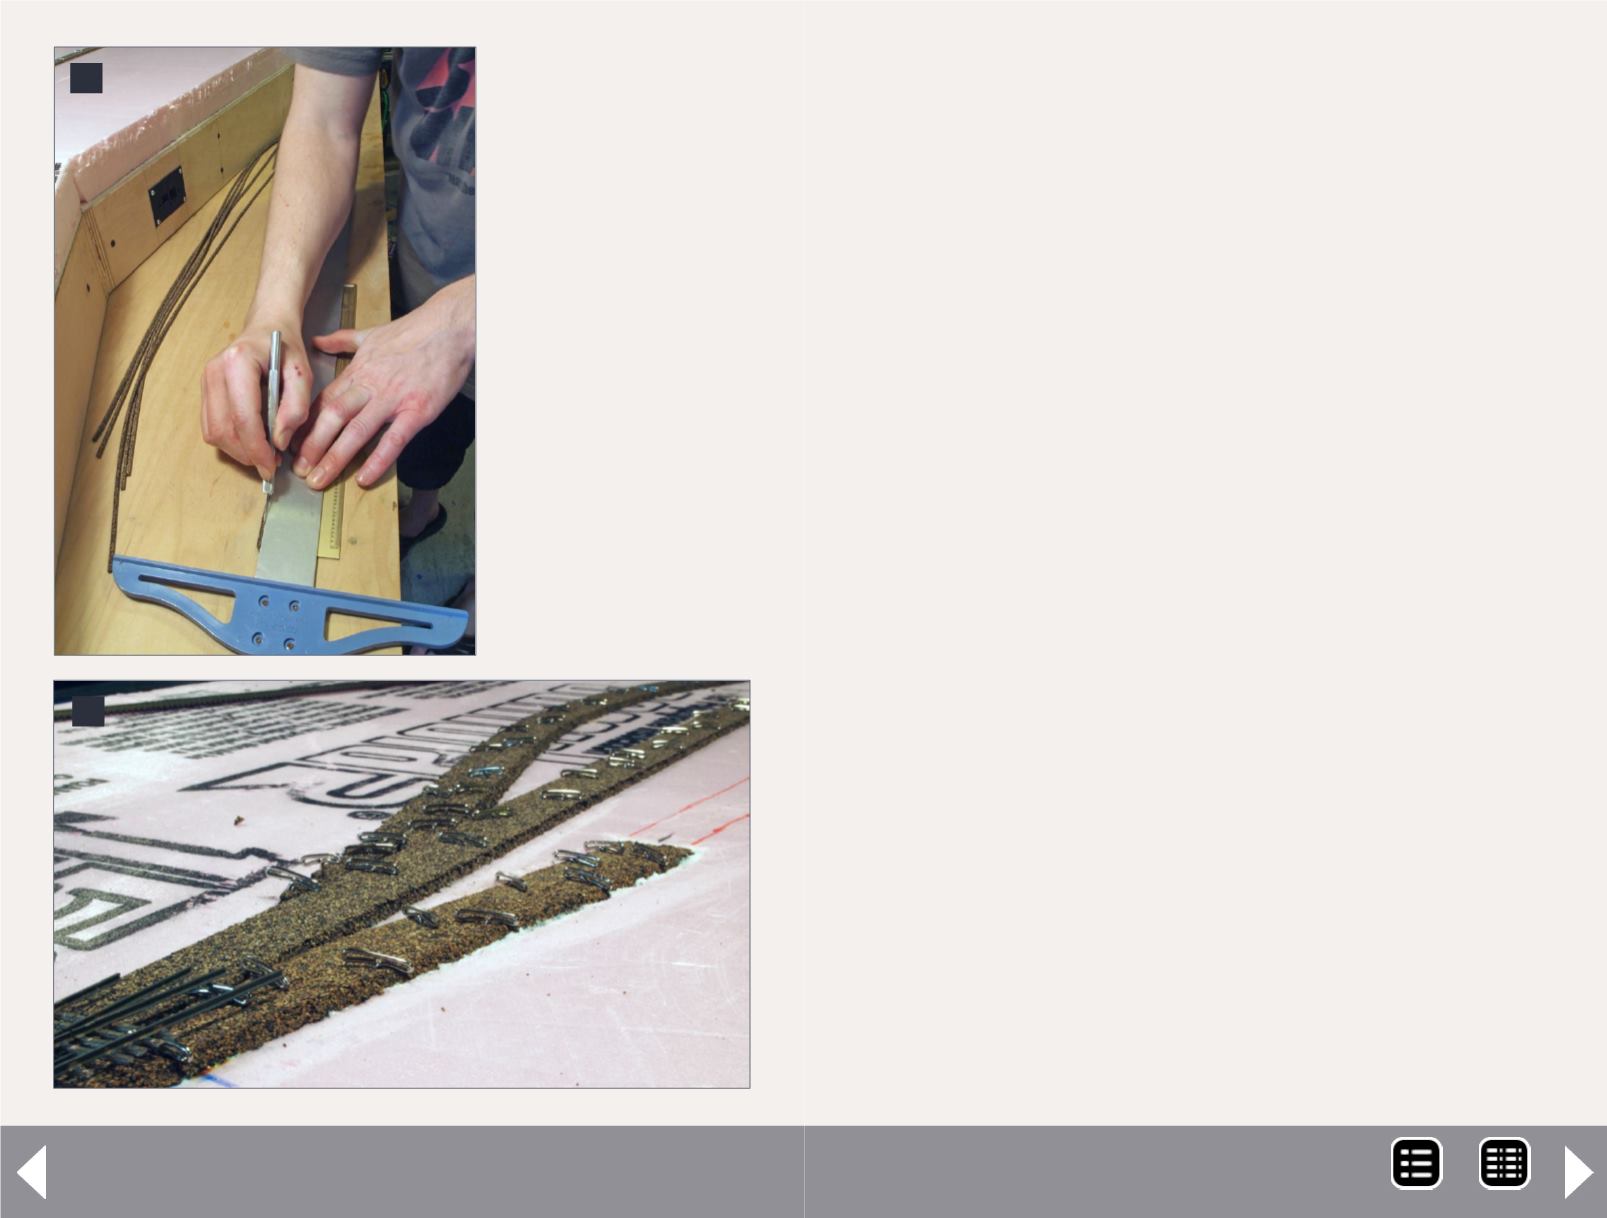
7-8: Trimming
about 1/8” off of
the center of the
cork roadbed strips
gives the track a
more branchline
appearance. T-pins
hold the cork in
place while the
caulk cures. The
transition from
roadbed down to
ground was made
by sanding down
the pink foam into
a sloping channel.
through holes in both cross-support and leg-plate, but secur-
ing the bolts to the cross-support with Gorilla Glue and cut-
ting the channel in the leg plate allows for a much quicker
“slip-on” system, the ease of which proves invaluable during
setup and take down (5).
As the two module sections are clamped securely before
legs are attached, only two sets of legs are necessary for the
entire module.
At first, because I was building the basics of this module in
a month to participate in a show, I used ¼” bolts secured by
t-nuts to level the legs. Adjusting those small bolt-heads under
the 2”x2” legs, over and over again, is hard on the fingers, so
after nine months of use I replaced the bolts with Rockler leg
levelers. The Rockler leg levelers take up 4” more space length-
wise, and a true 2”x2” width-wise, but they are heavy-duty,
easy to adjust, (especially when the weight of the whole mod-
ule is on them) and make set-up 20 kabillion times easier. (6)
Track & Turnout Control
The module required only a couple lengths of Atlas code 55
flex track and cork roadbed. As N scale cork roadbed is still very
wide, I like to trim about 1/8” off from the center side on each
piece (7).
I used clear silicone caulk to secure both the cork to the pink
foam, and the flex track to the cork. T-pins keep everything
in place while the caulk cures. (8) The trick for laying track on
Free-moN modules comes at the module and section ends.
“I used clear silicone caulk to secure both the
cork to the pink foam, and the flex track to
the cork. ”
MRH-Nov 2013


