Build a laser kit prt 1 - 7
STEP 4: Building the walls
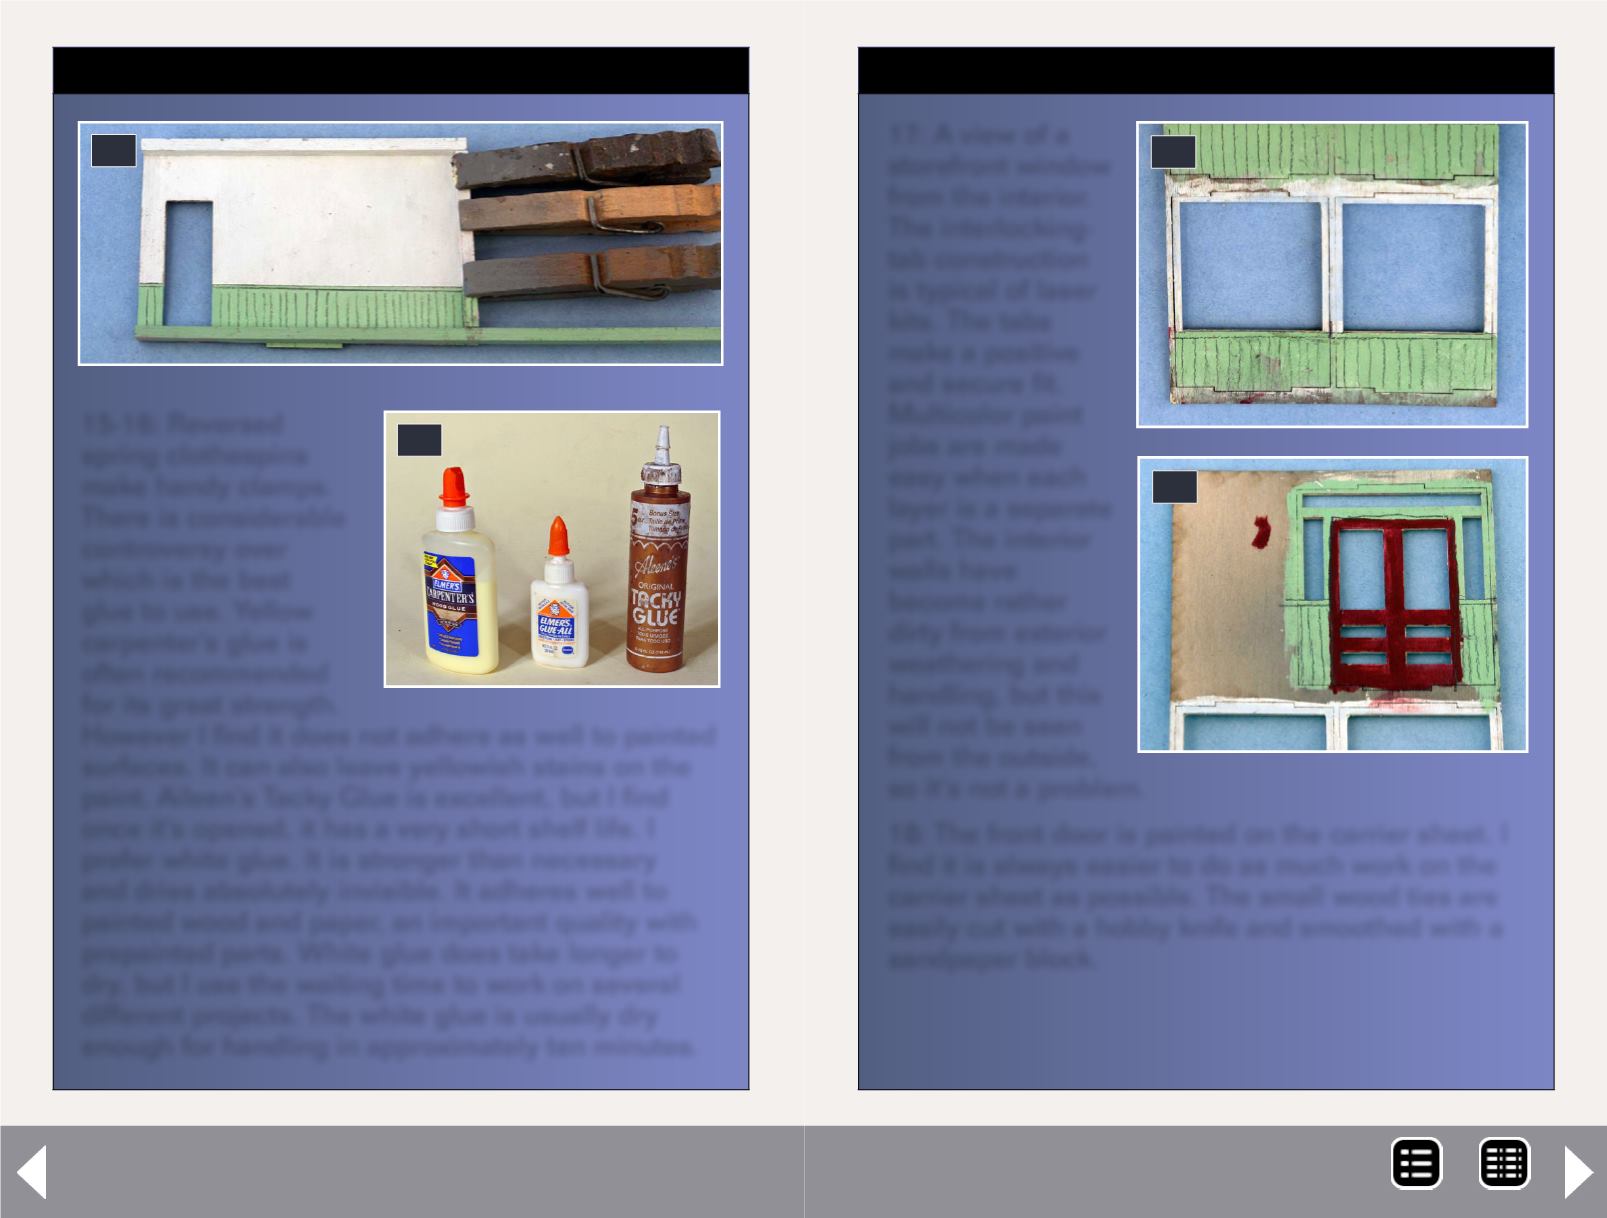
15-16: Reversed
spring clothespins
make handy clamps.
There is considerable
controversy over
which is the best
glue to use. Yellow
carpenter’s glue is
often recommended
for its great strength.
However I find it does not adhere as well to painted
surfaces. It can also leave yellowish stains on the
paint. Aileen’s Tacky Glue is excellent, but I find
once it's opened, it has a very short shelf life. I
prefer white glue. It is stronger than necessary
and dries absolutely invisible. It adheres well to
painted wood and paper, an important quality with
prepainted parts. White glue does take longer to
dry, but I use the waiting time to work on several
different projects. The white glue is usually dry
enough for handling in approximately ten minutes.
15
16
STEP 4: Building the walls
Continued ...
17: A view of a
storefront window
from the interior.
The interlocking-
tab construction
is typical of laser
kits. The tabs
make a positive
and secure fit.
Multicolor paint
jobs are made
easy when each
layer is a separate
part. The interior
walls have
become rather
dirty from exterior
weathering and
handling, but this
will not be seen
from the outside,
so it's not a problem.
18: The front door is painted on the carrier sheet. I
find it is always easier to do as much work on the
carrier sheet as possible. The small wood ties are
easily cut with a hobby knife and smoothed with a
sandpaper block.
17
18
MRH-Sep 2013


