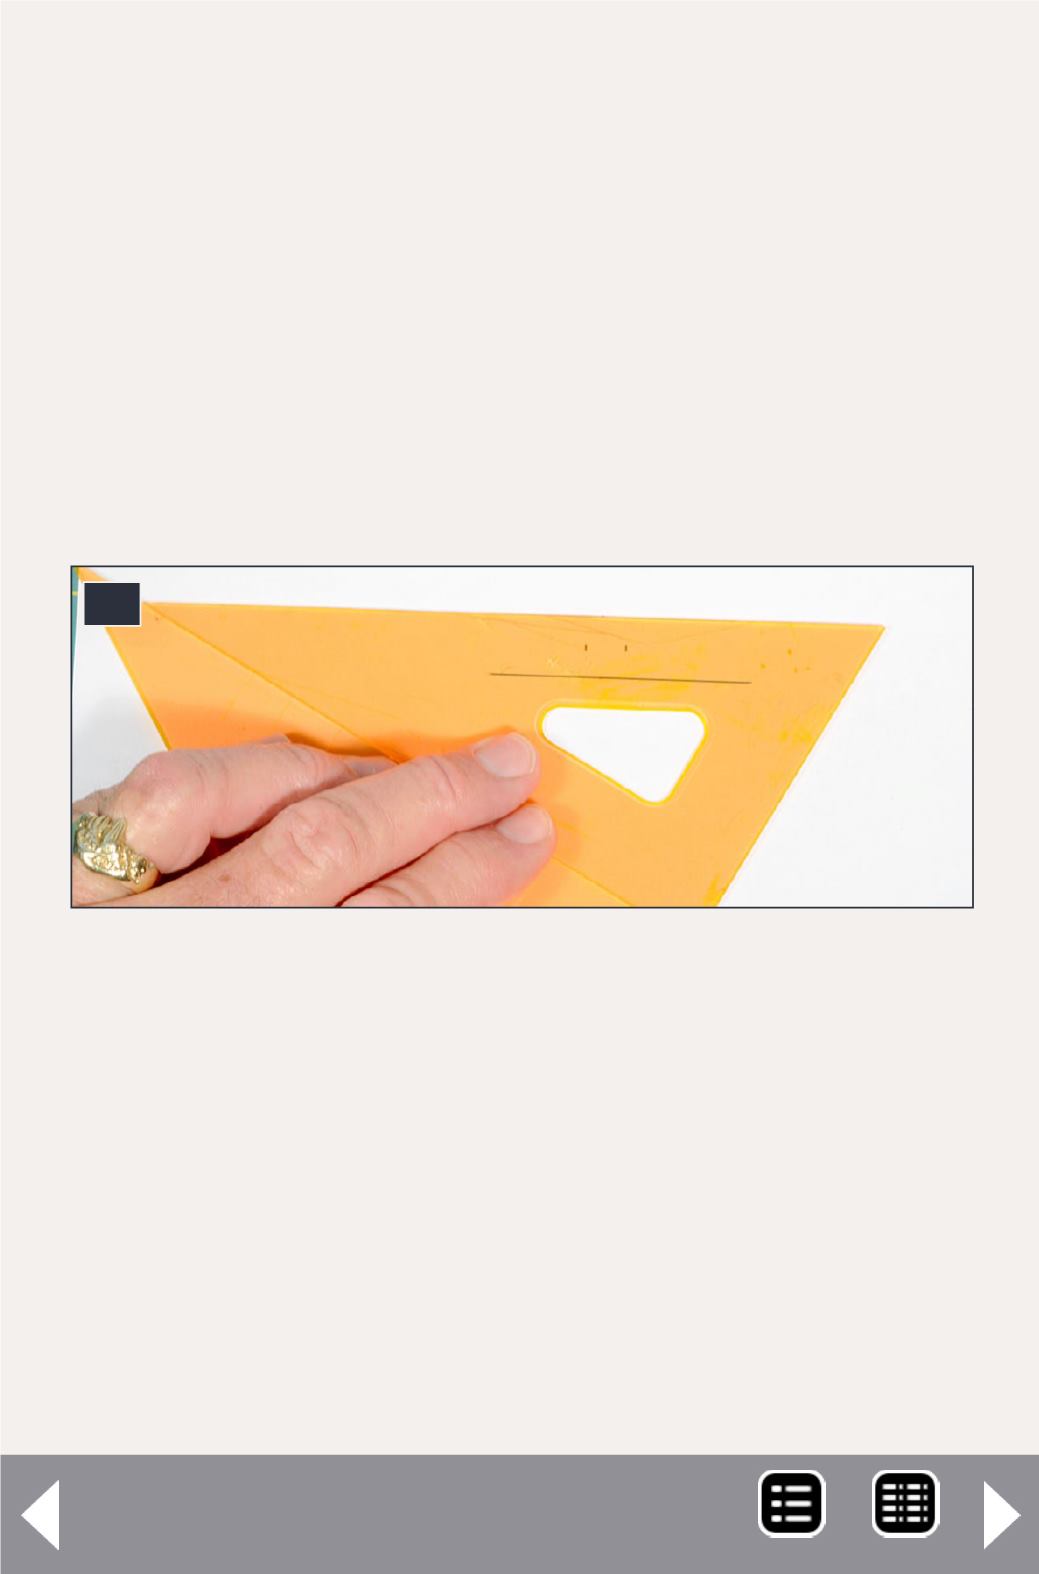
10: After drawing a line for the bottom of the window opening,
the sliding triangle is slid upward to be aligned with the pencil
mark for the top of the window. Another pencil line is drawn
aligned with this mark. It is important that the fixed triangle not
move while drawing the four lines. Since I need to use my right
hand to draw the lines, I hold the fixed triangle with the thumb,
ring finger, and little finger of my left hand. After positioning the
sliding triangle with my right hand, I hold it in place with the
index finger and middle finger of my left hand while drawing the
line. This process sounds more complicated and difficult than it
actually is—it is quite logical in practice.
10
Using the triangles, draw horizontal lines parallel to each other
at the marks for the bottom and top of the window template
and vertical lines (at 90
o
from the horizontal lines); draw the
lines longer than needed. These steps are shown in Photo 9
through 12. The resulting template is shown in Photo 13. Then
tape clear styrene over this drawing with masking tape, and cut
the styrene window to size using the pencil lines as guide lines.
This same trick works whether you use clear styrene or micro-
scope glass for your windows. Once you understand the idea,
you can skip a couple of steps; make the pencil marks on the
paper but then tape the clear styrene or microscope glass
The tool shed - 6
MRH-Aug 2013


