(10512 Surveyor Figures) had “surveyor teams. The first step is
to mount a "camera" on the top of the tripod with a reflector
for a flash on the camera. The photographer in the photo in fig-
ure 1 is a Woodland Scenics surveyor with his tripod converted
to a camera stand.
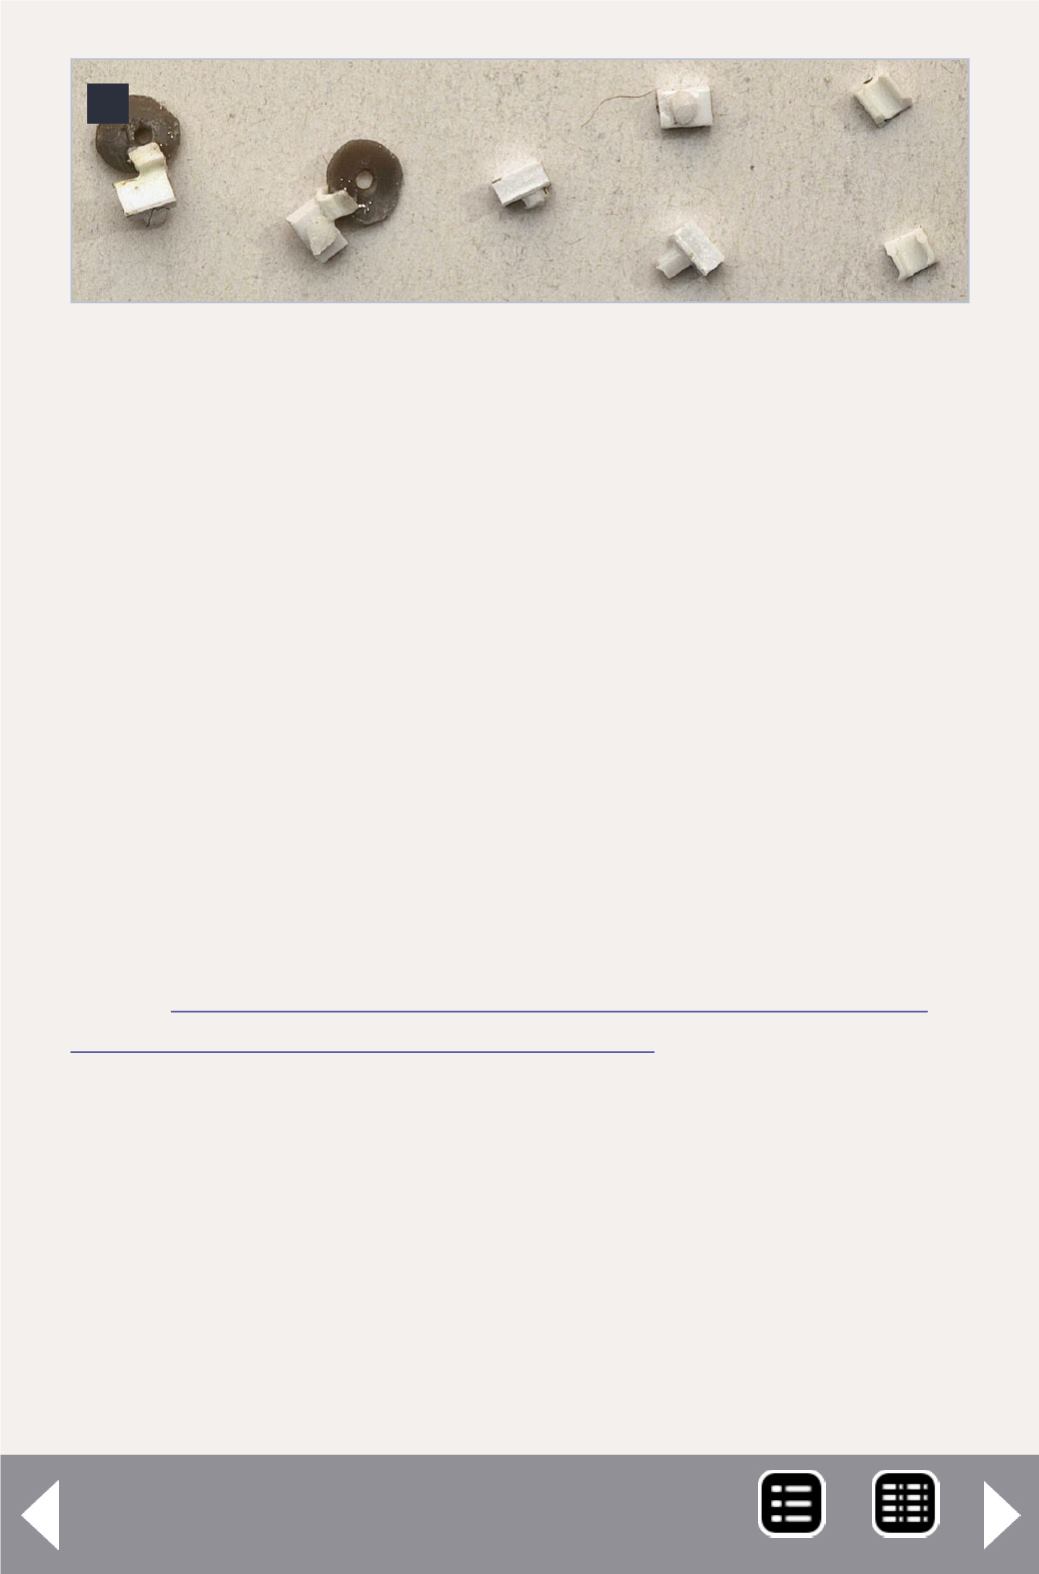
First remove the surveyor transit from the tripod and file the
top flat. The camera is made from bits of scrap .04" styrene
strip cut down to fit with a short stub of .06” styrene rod glued
on as the lens. Add the flash next. A Tichy lamp shade acts as
a flash reflector. Set it in a small mount formed from U-shaped
channel, then trim back, and paint it.
Next wire a #0401 white micro LED (surface mount type with
38 gauge magnet wire). See my article on using micro LEDs
in the
February 2012
Model Railroad Hobbyist Magazine for sources and techniques
Leave the leads long enough for placement on your layout.
Thread the leads through the hole in the reflector and glue
the LED in place with a clear adhesive (ACC, Elmers white glue,
watch crystal cement, Micro Kristal Klear, etc). Twist the leads
together for strength, run them down one leg of the tripod,
and glue them in place. If you did it right, you’ll never notice
the wires are there once the tripod is painted. You can see the
finished result below and in the video.
2
2. Cameras and parts.


