Tar paper roofing - 4
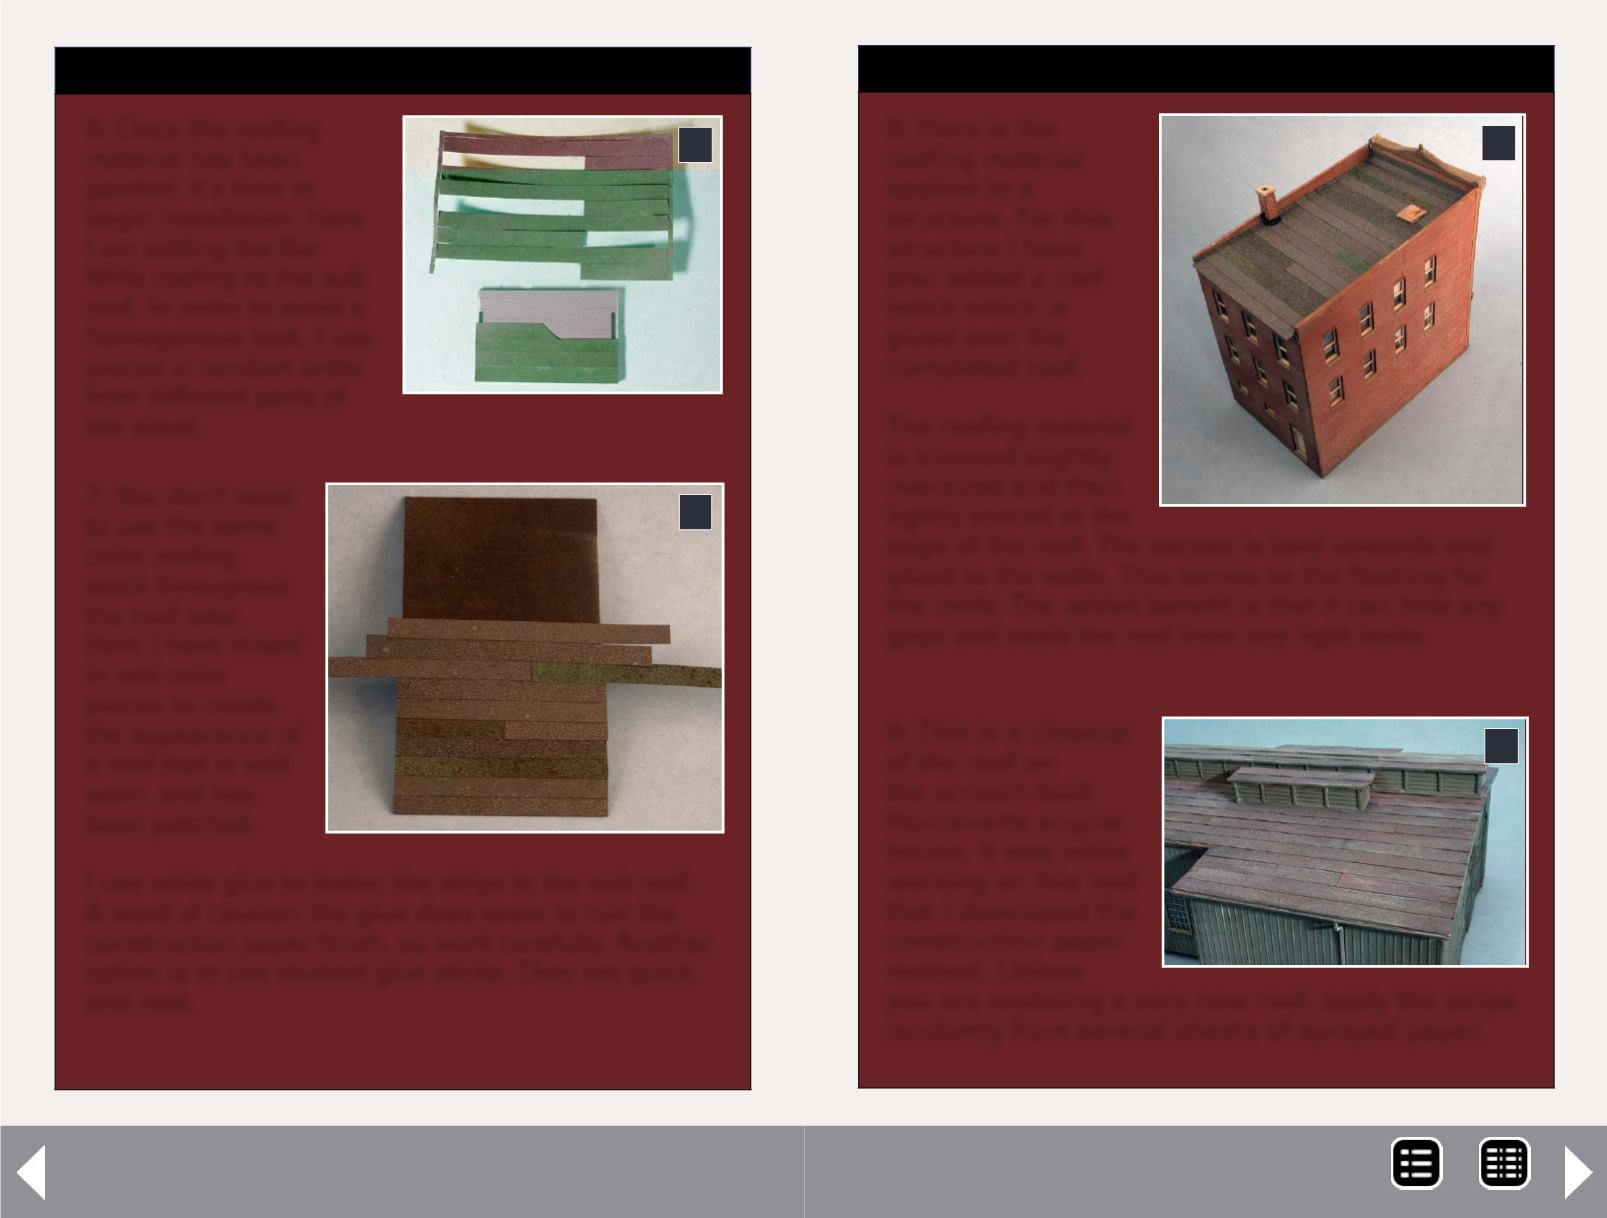
6: Once the roofing
material has been
painted, it's time to
begin installation. Here
I am adding the Bar
Mills roofing to the sub
roof. In order to avoid a
homogenous look, I use
pieces in random order
from different parts of
the sheet.
STEP 3: Applying the roofing
6
7: You don't need
to use the same
color roofing
stock throughout
the roof area.
Here I have mixed
in odd color
pieces to create
the appearance of
a roof that is well
worn, and has
been patched.
I use white glue to fasten the strips to the sub roof.
A word of caution: the glue does seem to ruin the
construction paper finish, so work carefully. Another
option is to use student glue sticks. They are quick
and neat.
7
8: Here is the
roofing material
applied to a
structure. For this
structure I have
also added a roof
hatch which is
glued over the
completed roof.
The roofing material
is trimmed slightly
oversized and then
lightly scored at the
edge of the roof. The excess is bent upwards and
glued to the walls. This serves as the flashing for
the roofs. The added benefit is that it can hide any
gaps and seals the roof from any light leaks.
STEP 3: Applying the roofing
Continued ...
8
9: This is a closeup
of the roof on
the scratch-built
Ronceverte engine
house. It was while
working on this roof
that I developed the
construction paper
method. Unless
you are modeling a very new roof, apply the strips
randomly from several sheets of sprayed paper.
9
MRH-Jul 2013


