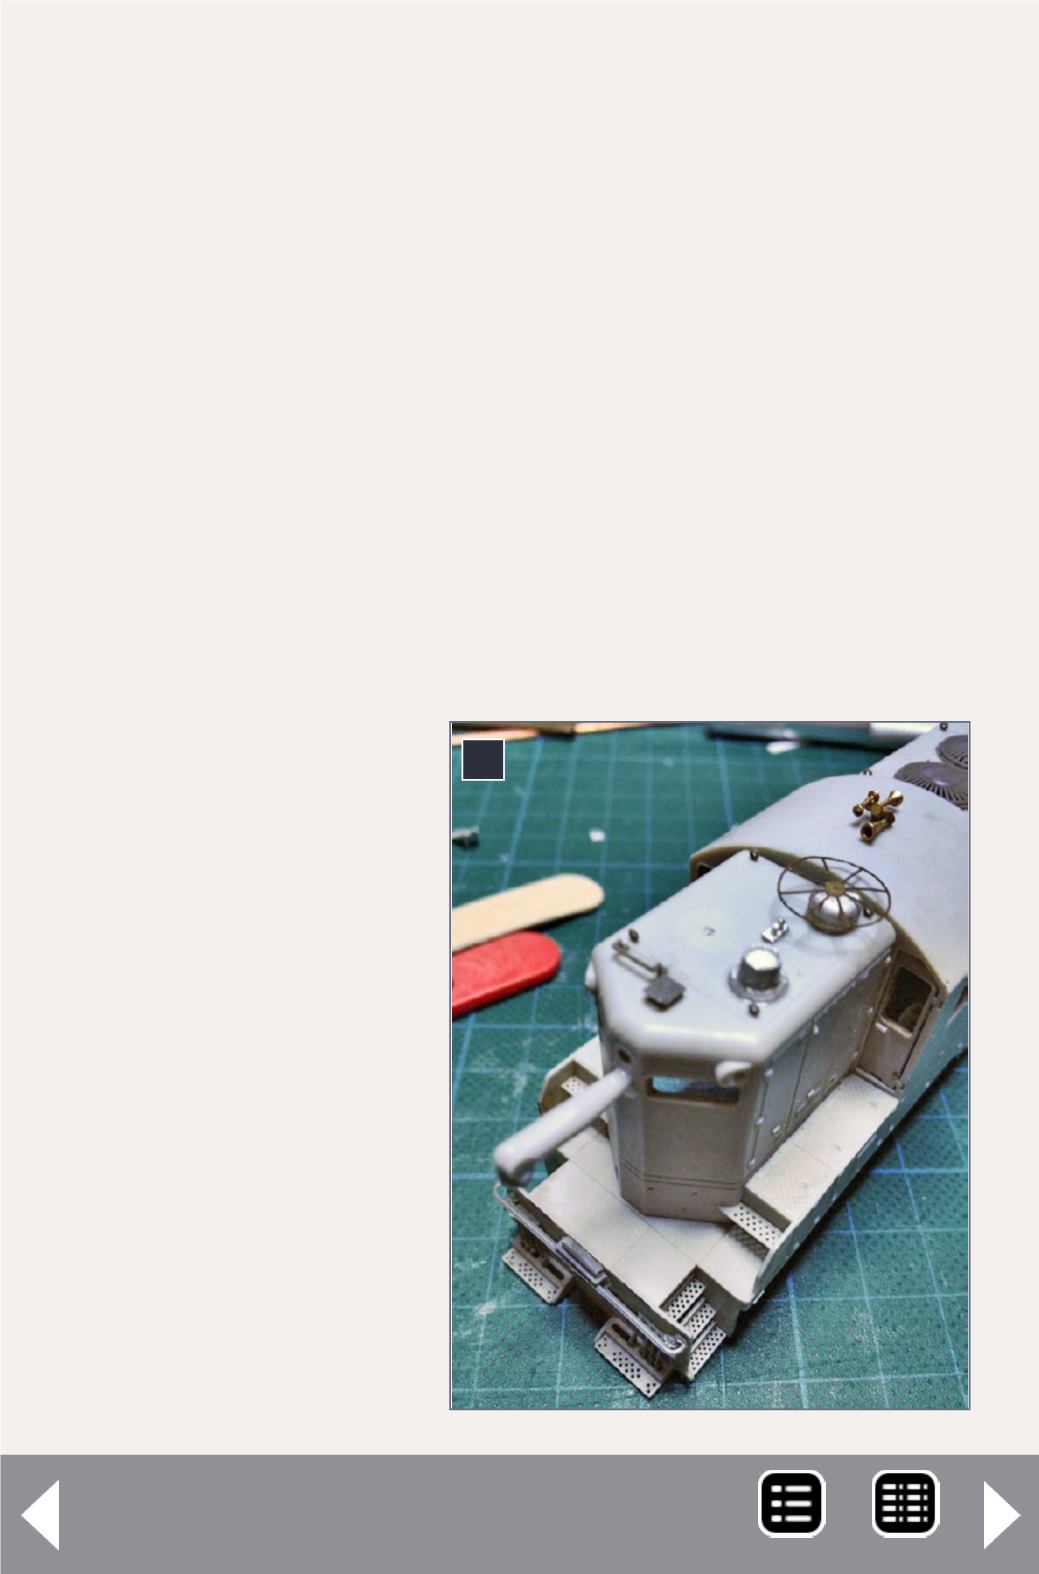
A thin sheet of styrene gave it some depth and I drilled a hole
in the middle for the filler opening. The result looks convincing
enough to me.
Headlights
Next were the headlights. I used a chisel blade in my X-acto knife
to cut the old light castings off. The holes in the shell were now
in the wrong place for the new casting, so they need filling up.
TIP: Here’s a quick and easy technique to do this: Take a suitable
piece of plastic sprue, found in many plastic kits, and gently heat
this up (a lighter or candle works great) until it goes soft. Then
gently pull both ends so it stretches and starts to taper. Remove
the heat and let it harden. Cut the sprue at its thinnest part and
insert it in the hole. Use CA to fix it in place, and then cut off the
sprue flush with the shell using the same chisel knife. You’ll get
a smooth exactly fitting
patch without the need
for any plastic filler.
4
4. Headlights cut
off, and holes being
plugged with a bit
of sprue. Steam
generator details
in place. I decided
against the use of
the wagon wheel
antenna in the end,
as it would date the
model too early for
my use.


