push pieces together, squeezing out a little plastic that is eas-
ily removed later. This makes a super tight and secure joint.
If I need things to set up quickly I switch to Ambroid ProWeld
“plastic welder” which is exactly what it does, quickly.
Once again the walls went into the squaring jig and were
cemented together. Before adding the roof, I made the inte-
rior loading docks and a few interior walls of plain styrene. The
building was painted with Floquil ATSF Mineral Red, and later
grouted with spackle carefully rubbed on, then lightly rubbed
off, so just enough sticks inside the cracks. It is possible to
remove the dry paint if you rub or push too hard. Weathering
washes were added later, as were those little Grandt Line
12
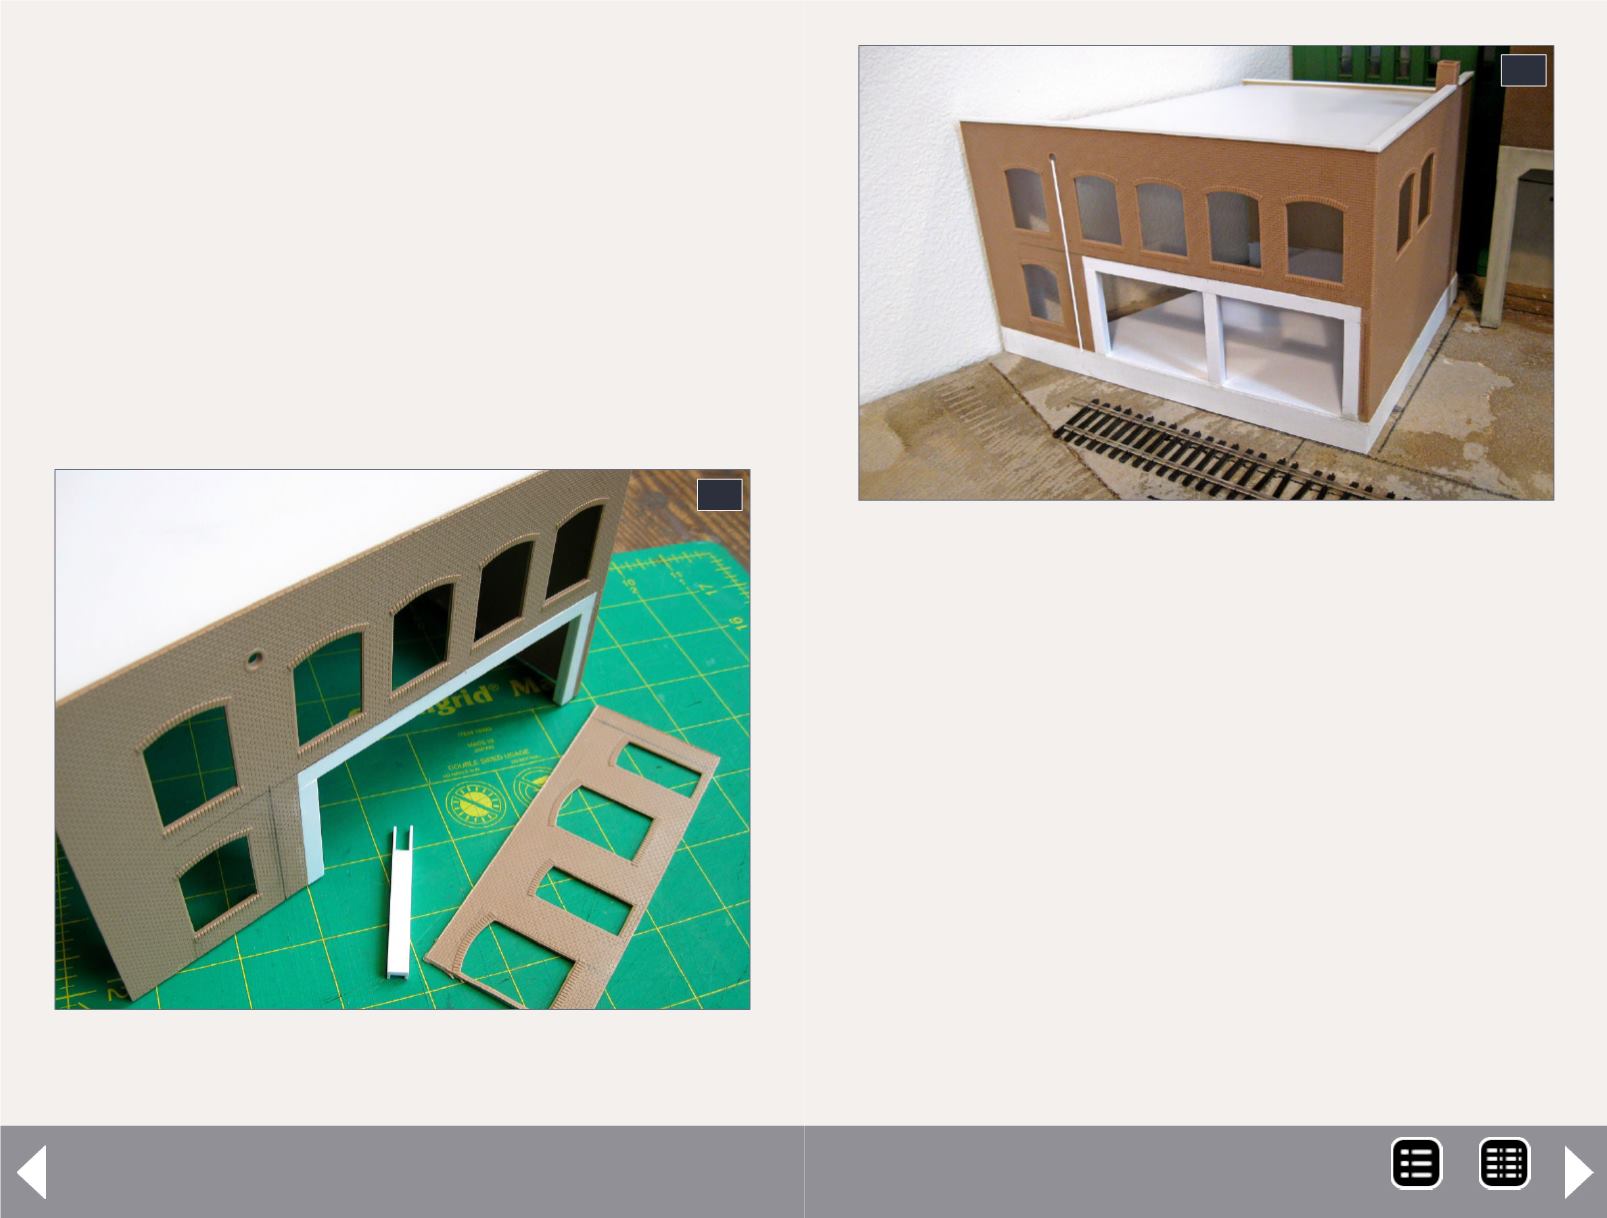
12: The cutout with styrene columns and beam for the
loading docks on Merchant’s Row III.
Structures in tight places - 7
13
nut-bolts for earthquake braces, always necessary in LA. I
weather with very, very, dilute mixtures of water and Polly-S
Weathered Black and I weather the nut-bolt details with rust-
colored paint and chalks.
The windows were painted and added, and the finishing
touches were the corner protectors on the concrete columns,
made of styrene angle and painted bright yellow. It’s a nice
touch since it’s pretty dark in that little model alley and these
really stand out (and they were on the real Mission Furniture
docks and many others).
Another finishing touch not to be missed is trash. It collects
between rails and especially inside covered docks. And, before
13: Here it is mounted on top of its raised foundation
and loading dock. Note the added cornice on the
parapet wall above the roof.
MRH-Feb 2014


