piano wire. The wire is
then bent back under-
neath the shim and
held in place with small
screws. The screws add
additional weight to
the shim.
With the wire attached
to the shim, it’s then
positioned underneath
the layout. I found that
it’s important to make
sure the wire slides
freely through the brass
sleeve. If it binds, the
wire won’t drop down
when released. Make
sure that the wire and
shim combo are per-
pendicular to the sleeve
and roadbed when
installing them.
Fighting Gravity
The wire was now
free to drop into the
unlocked position, but I
needed a way to prevent it from dropping down to the floor. I
only needed the wire to drop enough to clear the throwbar, a
distance of less than an inch.
First, I needed a way to attach the shim and wire combo to the
underside of the layout, but still allow it to move freely. Luckily,
I use extruded foam as my sub-roadbed. Some short but thick
roofing nails give me the leverage I need to act as a hinge on
11
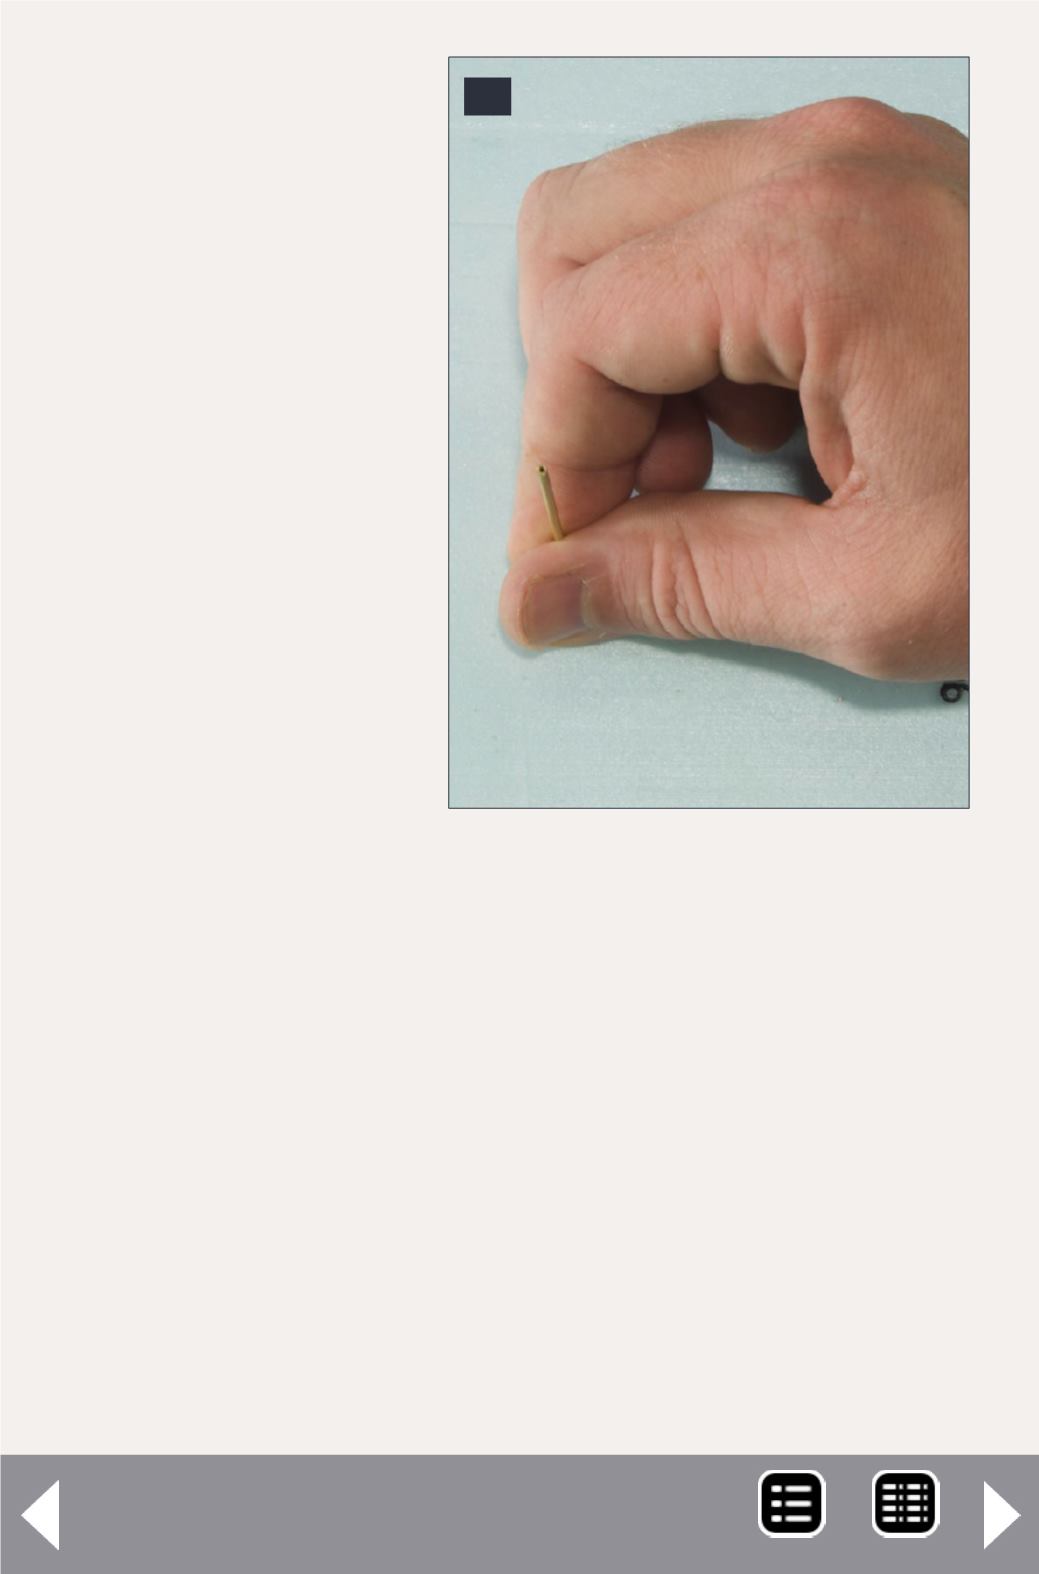
11: The wire is threaded
through a brass tube to stiffen
it in the sub-roadbed and
prevent it from moving around
in the foam.


