Questions, Answers & Tips - 2
After gluing, I set the coupler aside for several hours to dry.
Usually I assemble 50 or so at a time, so I just line them up on a
desk to dry.
The next day, I either start using the couplers or put them away.
Before installation, I coat both sides of the knuckle with graph-
ite, as well as the pushing surface of the coupler. I do this for a
pair, usually to go on one car, and then I couple the couplers, and
slide them up and down while stretched and bunched, several
times in each state. Finally, with them bunched, I turn them over
and let the balls get out of the way. Then I pull them apart and
push them together in such a way that it forces both knuckles to
open fully and close fully. I do this several times, until I am satis-
fied that both couplers are opening and closing smoothly. If any
fail to open or fail to lock, they go in a separate pile for me to fix
or toss, depending on the cause.
2
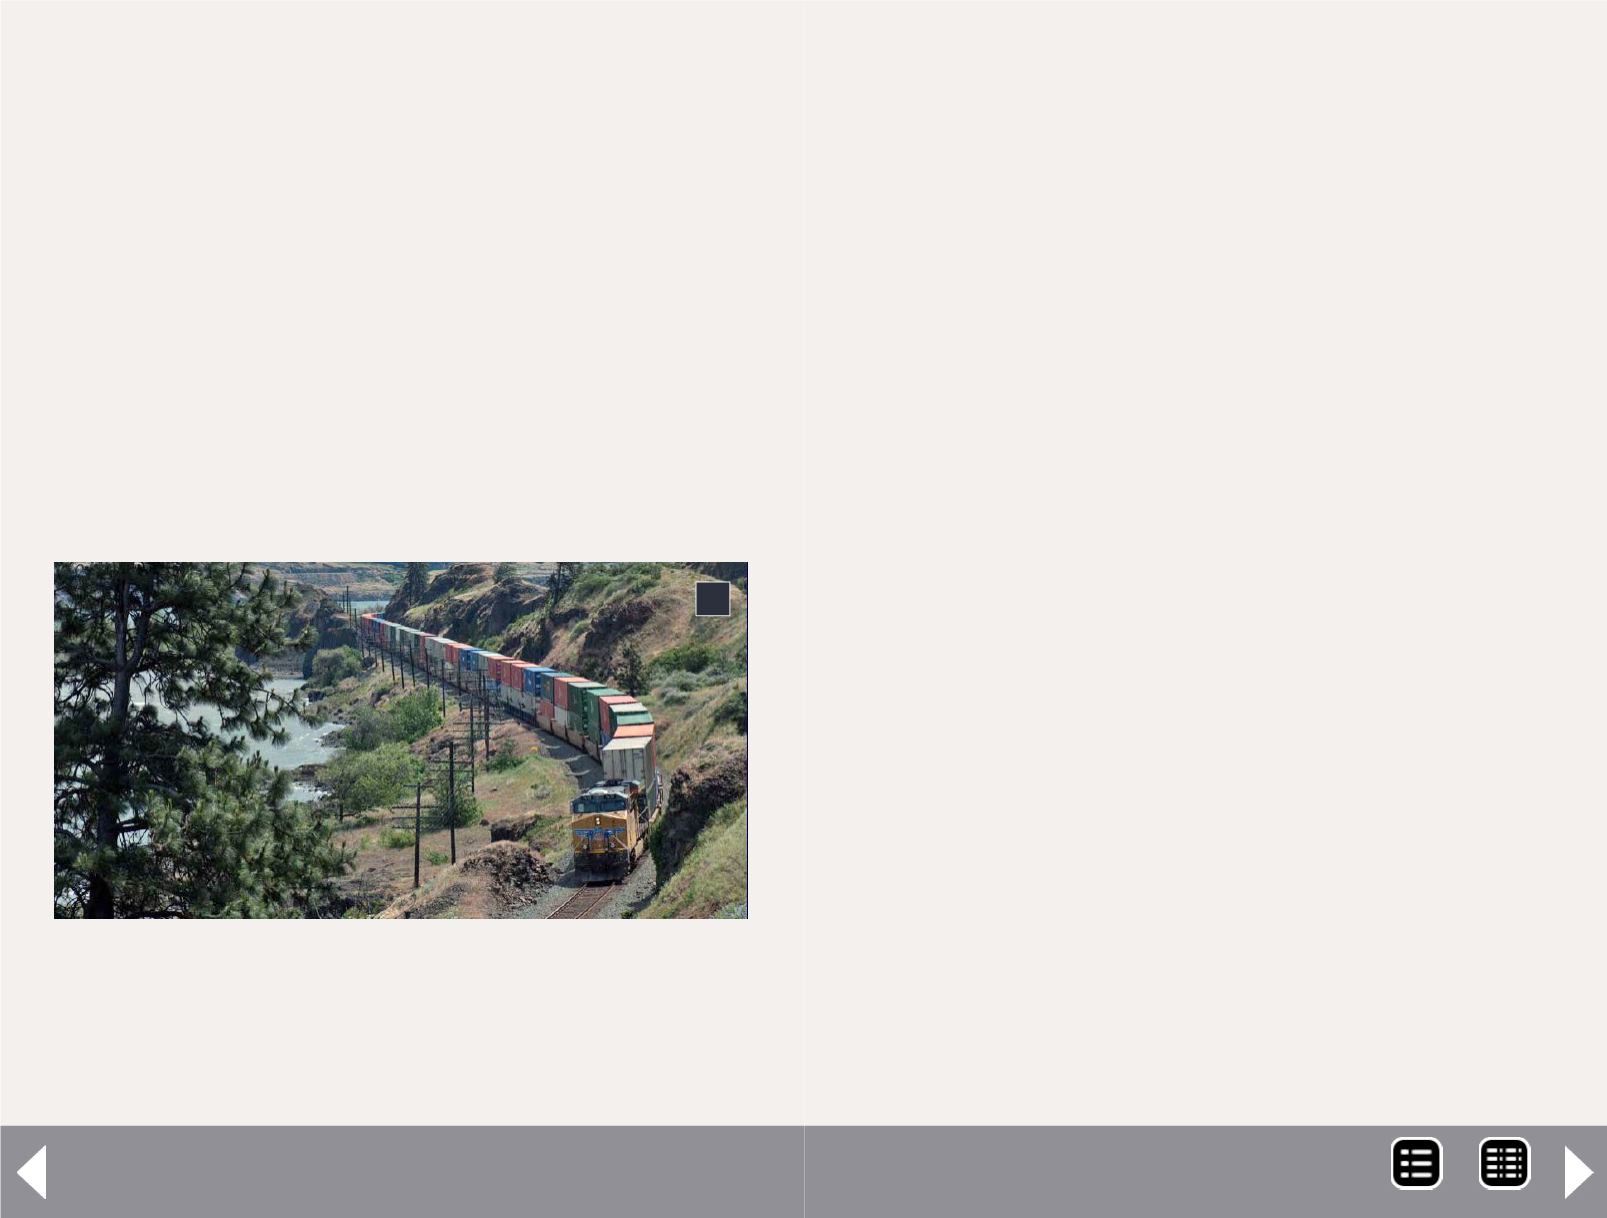
2: This Union Pacific diesel unit, eastbound at Rowena,
OR, is a distributed power unit (DPU), not a helper.
DPUs on level track can be represented by careful
speed-matching with the head-end locomotives, or else
by adding a dummy engine.
Some of the coupler styles only come assembled and are not
available as kits. For those, I graphite both sides of the knuckle,
the pushing face, and apply as much as possible in the slot on
the back of the pushing surface, so that some graphite gets into
the ball and knuckle tongue area. Before installing them, I go
through the same break-in procedure as the kit couplers. The
factory couplers can be disassembled if they have problems, but
that must be done with some care. I have rebuilt a few particu-
larly uncooperative ones, and they operate just fine now.
– James Ogden
The only thing out of your recommendations that I did not do
previously was to apply graphite to all the internal parts. All the
couplers passed the upside-down working test before installa-
tion, and all of the working surfaces of the knuckle were pol-
ished with a graphite pencil in the same manner that James
suggested.
As an experiment, I went back and looked at some of the cou-
plers I've been having problems with and applied some graph-
ite inside. I took a tube of graphite, made a small pile of it, then
took a fine brush and picked up some of it, carefully placing it
inside the assembled couplers both upside-down and right-side-
up. I then used the magnet wand to cycle the locking ball several
times to be sure that all sides were coated. I'm happy to report
significant improvement.
When I assembled all these, I was not a stickler for flash. I looked
at only the two spots recommended on the instructions. Now I
know a few other places to check.
– Kevin
Taming helpers
Q.
We are trying to run helpers on my layout, which includes
several 2% grades and 30" radius curves. So far we have shoved
MRH-Sep 2013


