8: All the PC ties for the curved turnout are stuck in
place. Note how there are more ties where the frog will
be located. This helps stabilize this location and also
provide extra support when insulating gaps are cut in
the rails on either side of the frog.
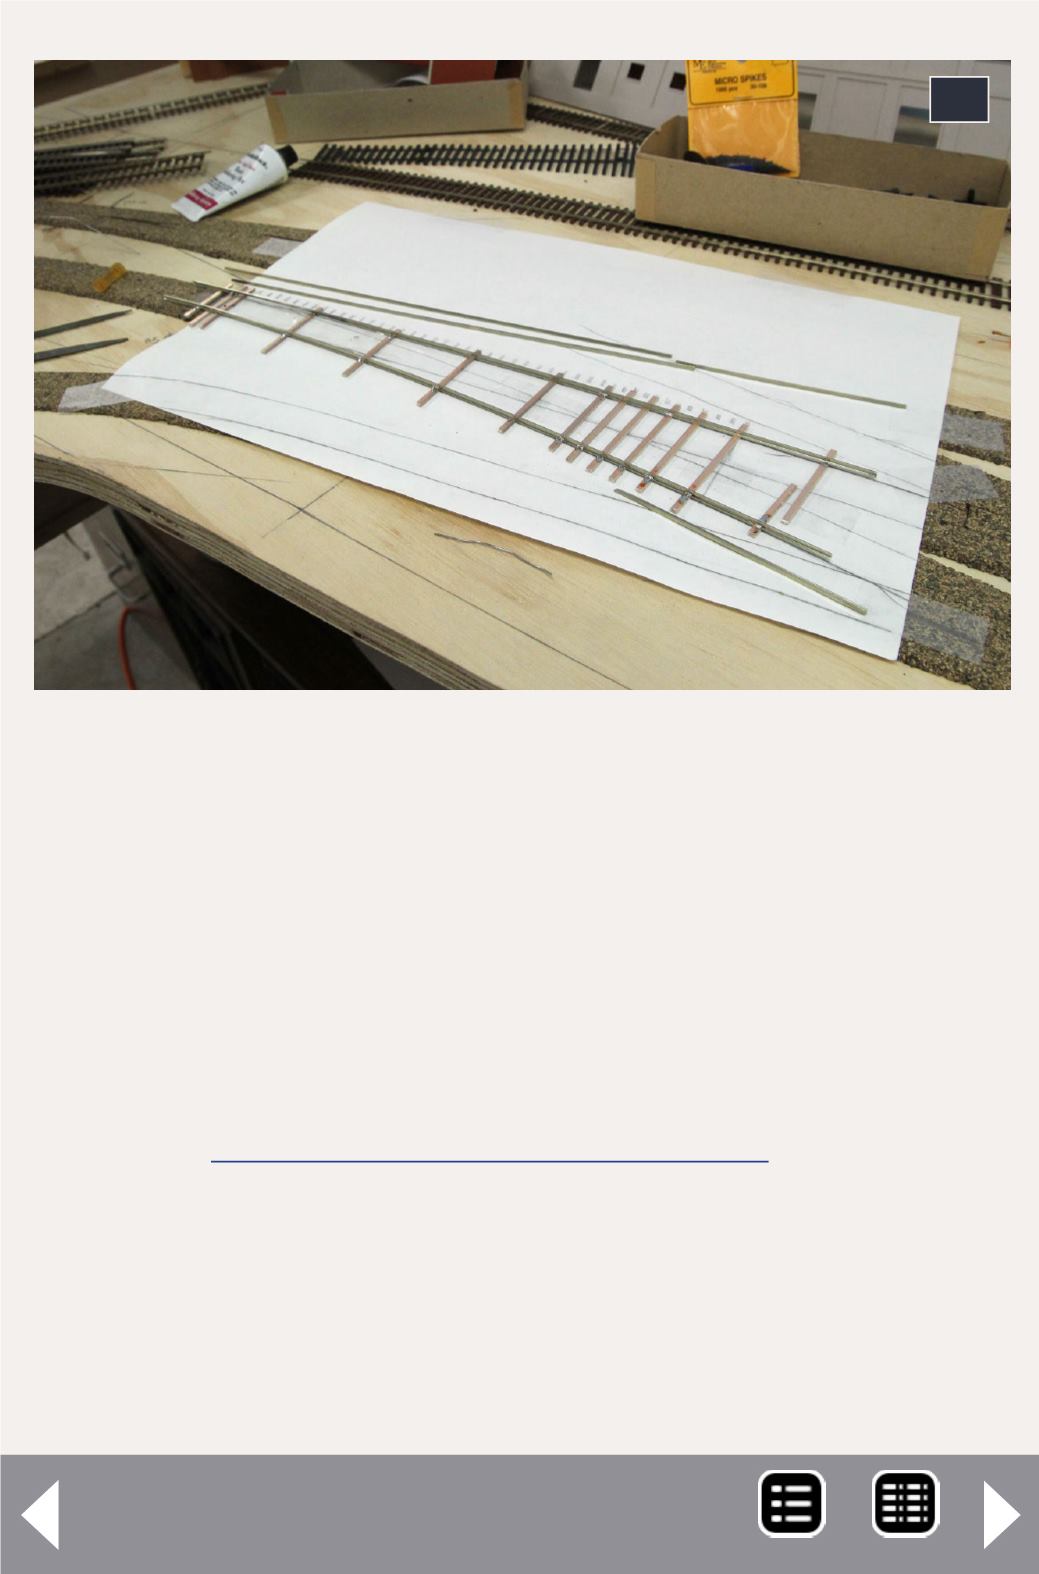
9: Pieces of rail, cut out and ready for soldering to the
PC ties. I use a 5” disk / 1” belt benchtop sander to
“machine” the frog points, points, and stock rails. I
cover grinding the rails and assembling them in detail
in the companion video to the June 2012 Up the Creek
column
) where I
show how I build standard (straight leg) turnouts.
10: The first step in attaching the rails is soldering
the two stock rails in place. Be sure the notches cut
in them face the inside of the turnout where they’ll
accommodate the points and are lined up appropriately
for the location of the throwbar.
10


